Eyelash Extension
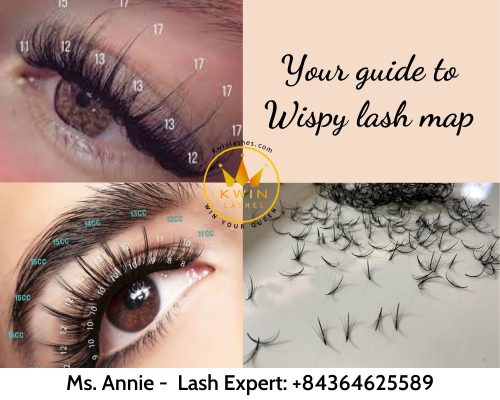
Your guide to the amazing wispy lash map

Oct
Wispy eyelash extensions are well-known not only for the new and trendy lash style but also for the intricate wispy lash map that becomes a headache to many lash artists. The attractive look that wispy lashes offer depends mostly on how good the technicians are at the wispy lash map. Therefore, to create a wonderful wispy effect, lash artists have to deal with the lash mapping math first. If you are a newbie to the eyelash world, the wispy lash extension map is an interesting task you should engage in. This article will guide you to the best wispy lash map.
What is the wispy lash map?
You must have heard about the amazing Kim Kardashian lash map, she is not just a celebrity but the aspiration for the wispy look. Wispy eyelashes add a spiky appearance for a fuller and more charming lash line and this beautiful look is made by the wispy lash map.
Read more at:
Premade fans and Promade fans – Which one is better?
Top 5 Halloween colored eyelash extensions 2021

Definition of wispy lash map
The wispy lash map is a process of deciding which lengths to choose and where to apply the spikes and volume lashes. This type of lash map can be called Kim-K lash extension mapping. The distinctive feature of the wispy lash map is the messy but outstanding effect created from various lengths of false lashes. Lash artists have to draw a map on the eye pads in which the longer and thicker lashes are attached between volume fans based on the clients’ natural lashes. Technicians have to master the wispy lash map to design impressive lash lines that match their real ones.
What is the relationship between hybrid and the wispy lash map?
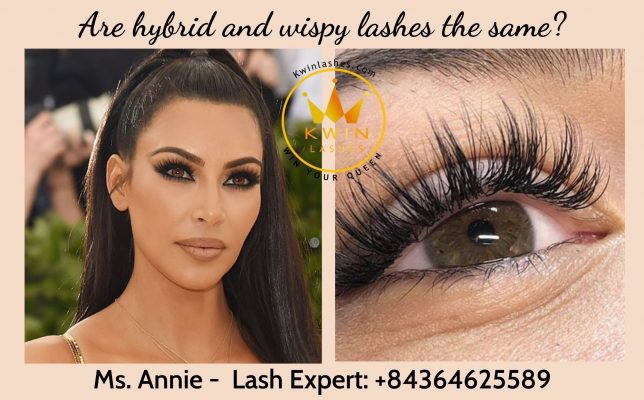
Hybrid lash extension mapping and wispy lash extension maps share many similarities in their appearance, but they are not the same due to the effects they create. By adding many layers of spikes and fillers, the wispy lash map offers a fuller and more dramatic look than hybrid lashes. Instead, hybrid extensions look slightly more natural. In fact, lash artists often mix hybrid lash map and wispy lash map to make incredibly gorgeous lash lines.
2. How to create a wispy lash map?
The key to producing a perfect wispy look is mastering the wispy lash map. So, how to determine which lengths and places to attach false lashes? This part will grasp all the detailed information you need to know about this method.
2.1. Step 1: Preparation and tools
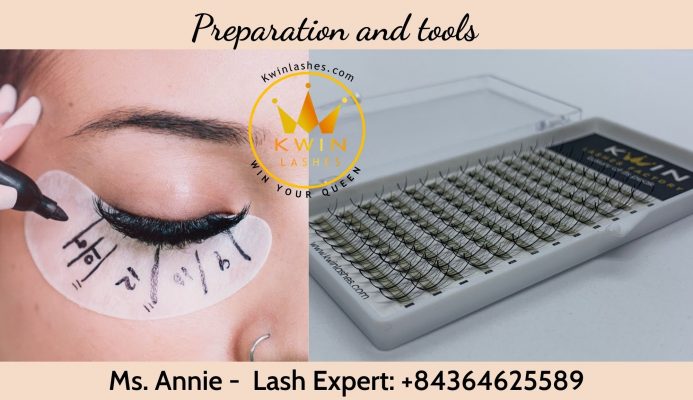
For the wispy lash map, you may need eye pads, markers, and tape to draw lengths and positions of the wispy look. It is suggested to use multifunctional tweezers which can be used for both classic extensions and volume ones. Eye pads play an important role in marking the wispy lash map and comforting your clients.
2.2. Step 2: Create spikes first
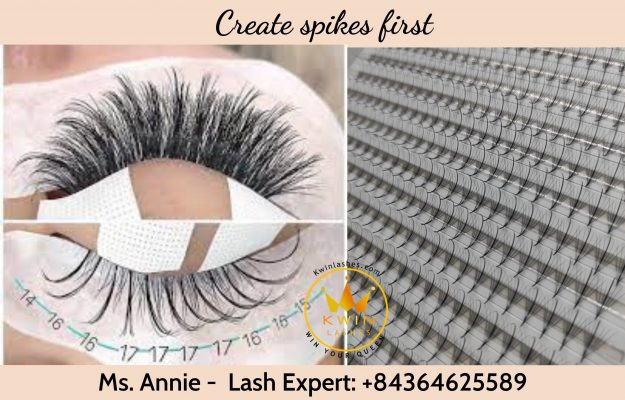
Before drawing the wispy map, make sure you go through the natural lashes of your clients because the wispy extension uses real lash lines as the base. Professionals advise starting at the peak points to form the frame of your wispy lash map. This helps divide equal parts for each filler. We recommend using various lengths of spikes for a more beautiful final result.
2.3. Step 3: Fill in the baselines between the spikes
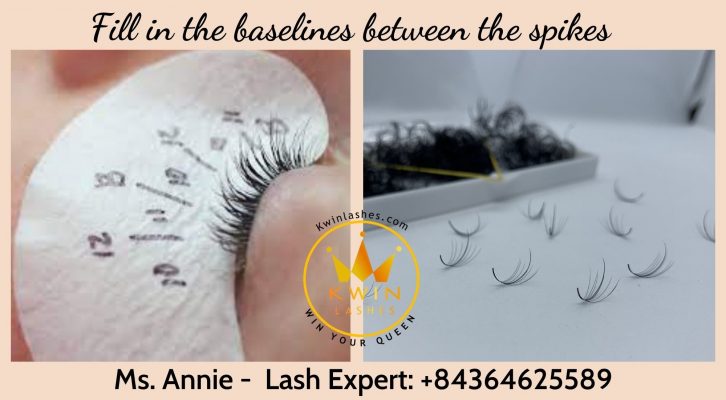
Once the spikes are completed, the frame of the wispy lash map is planned out for the filling stage. A good rule of the thumbnail is to choose 2 to 3mm shorter volume lashes to attach between spikes. For example, if you use 11 and 12mm for spikes in inner corners, the volume in this area should be 9 and 10mm. The highest point should be at the middle or outer corners of the lash line.
You should depend on the requirements of clients to decide on suitable lengths and layers for the most satisfying lash lines. After finishing the wispy lash map, you are ready for a wonderful wispy lash extension. Make sure you follow the map and carefully apply each spike and volume.
3. Advice for the best wispy lash map
The marvelous wispy look you create is based on your experience and creativity in the wispy lash map. There is some advice you need to know for better wispy lash maps:
- Do not be afraid to fail at the beginning.
- Practice makes perfect so keep trying hard and you will do it.
- Be creative to design your own wispy lash maps, they may become popular one day.
For further information, please contact us via Whatsapp: +84855555367.
We have wonderful products for you at:
Kwin Lashes: Best choice for false eyelashes